Tuesday, September 23, 2014

DIY Distressed Jeans to Cutoffs

Hi everyone!
It is officially fall! I know, I know, why am I posting a diy about a pair of shorts now, but consider this a possible project to wear during this transitional weather period! P.S. Autumn related posts are coming soon so get excited! So on with the DIY....


1. Length: To begin, simply put the jeans on and get an idea of how long you want them to be once they are cut. Specifically measure the inseam and outer seam. Take the pants off and measure the vertical length of your choice all the way around the circumference of each leg, marking with a pencil.


2. Style: Decide whether you want to roll them up or have a raw edge look. If you want them rolled, add 2 inches to the length and remeasure.

3. Cut: Now cut them and try them on to make sure it is what you want. (I usually do not do this but, for this pair I sewed the edge and then cut through it to make a thicker raw edge.)


4. Distress: Keep them on and start the distressing process by using a pencil to mark where you want the distress to be. Take an exacto knife and slice where you want slits. If your goal is to create a patch of the while thread of denim, make another slit above or below the original and sandpaper them. This should loosen the threads so that you can take a tweezer and pull the blue vertical threads out to reveal the horizontal white ones. You can also distress the hem of the denim with the sandpaper by rubbing the paper on it repetitively.


Note:
  • The distress is enhanced through each wash and dry the denim is put through! 
  • If you do not use somewhat "real denim" (very stretchy and jegging like) this won't work
  • These could look a lot more distressed, however I wanted more of a subtle look!
xo, Paulina


Tuesday, March 25, 2014

DIY tin can ➡ desk organizer

Hi everyone,
With my love to refurbish things into items that I need or want, I will be showing you how to reuse and decorate a tin coffee can into a cute, usable desk organizer for pens, paint brushes, or whatever your heart desires! This project took time to do, but even with it's little bumps, character and quality can been seen in mine and your work! Here is what you'll need:

-tin can
-paper (wrapping paper or stationary) or fabric
-modge podge 
-paintbrush
-optional embellishments (pins, other fabric, ribbons)


  • Begin with your coffee can and peel the outside off. Do not worry about the rust patches, as those will be covered up. 
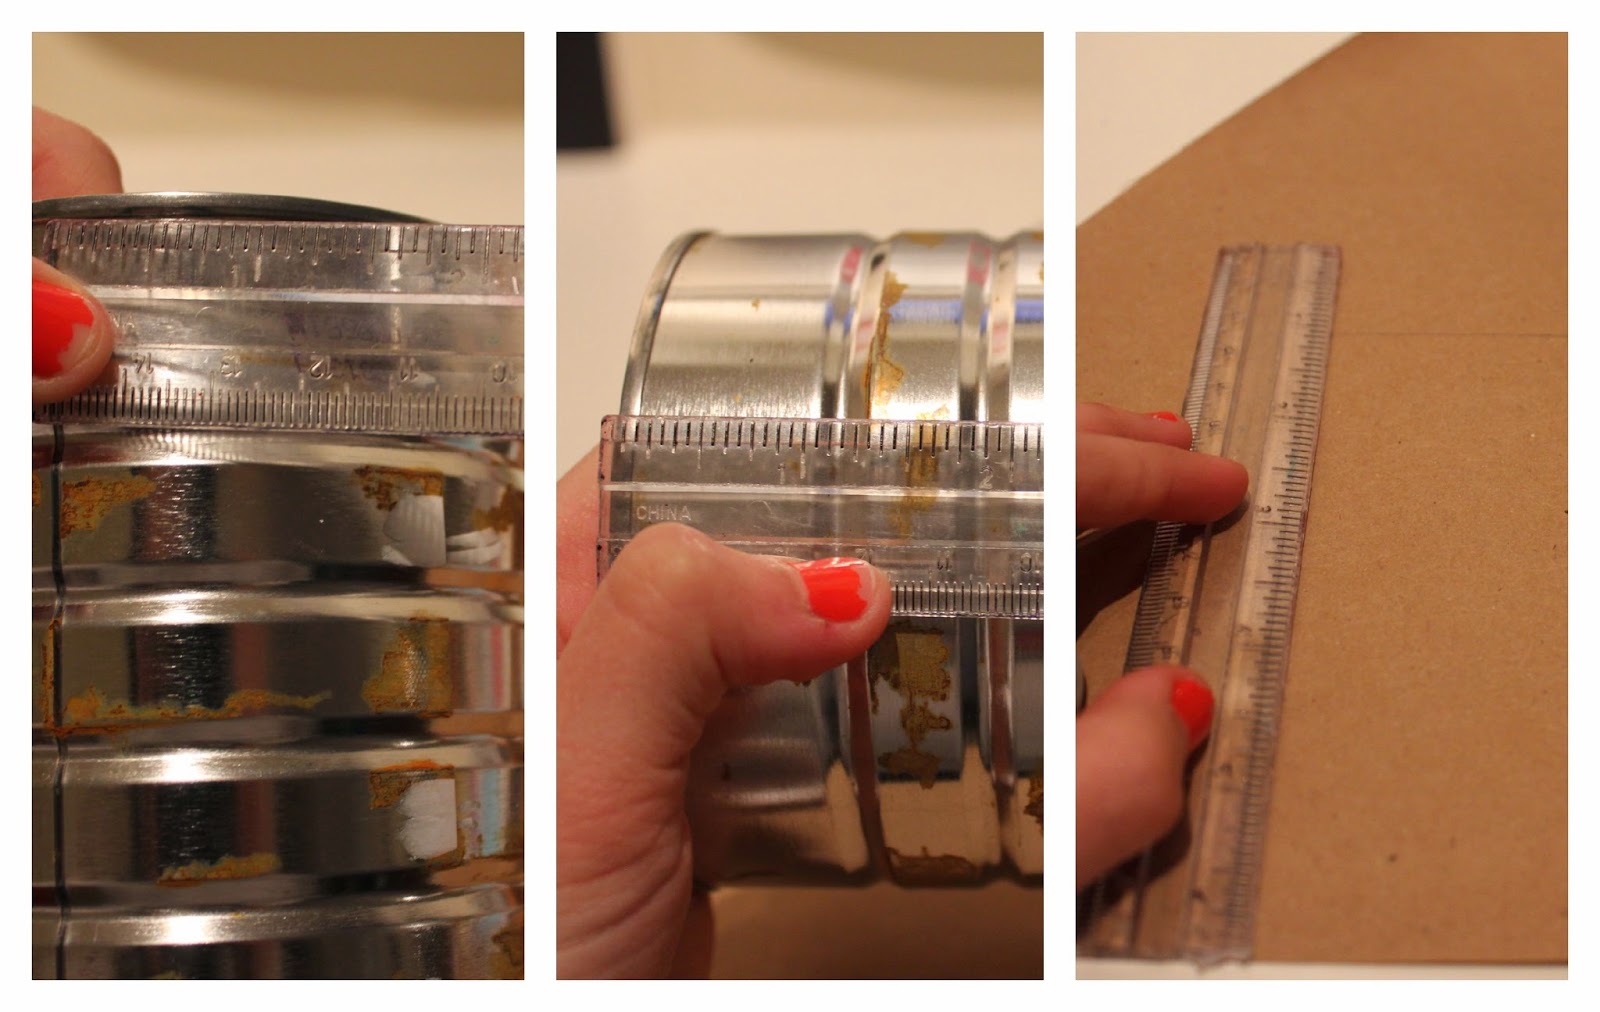
  • Measure the circumference and height or the can and measure the paper to the desired amount.
  • Wrap the paper section by section as you paint modge podge on the metal. Take a ruler and gently press the air bubbles out, if you need.

  • Cut out embellishments, whether it is other paper, fabric, ribbon, anything! Paste the modge podge down to the needed area on the cover material and wrap embellishments around. 

  • Once everything is dry, apply another coat of modge podge and again, wait for it to dry. 
  • Lastly, I am attaching a bow with a few dabs of glue. 


And that's it! Here is a new desk organizer to go with my collection. They definitely come in handy and look especially cute when they are personalized by you.

xo, Paulina

Tuesday, February 25, 2014

Shiny Kicks

Hi there! 
Sneaks have always been extremely comfortable and the source of tired feet's relief, but recently they have turned into the stylish, still casual shoe. Street style photos have majorly encompassed the use of sneakers with non athletic outfits, especially during fashion weeks. I use sneakers quite often, as I have a pair of Supergas and Juicy Couture ones, and the rubber sole rims can get pretty dirty! From the dirty snow, puddles, and everyday walking, the rubber surface needs to be whitened once and a while. I wanted to show you all how I clean my sneakers to get them to look brand new! 

You will need: 
-dirty sneakers
-409 spray
-a toothbrush
-gloves 
-a wet rag

So here are my dirty kicks! The yellow tint with specks of dirt on the rubber part bugs me. I always like my shoes to look in tiptop shape.

Spray 409 onto the toothbrush and you can also spray it onto the shoe, just be sure to cover the fabric part, as it has a bleach component to it.

Scrub, scrub, scrub! The 409 will foam as you brush and the more you work at the surface, the more dirt will come off! Wipe the remaining 409 off with a wet rag and give the surface an extra polish with a little elbow grease.

Here is the before (left) and after (right). The results are awesome and will make your shoes come close to what they originally looked like in a matter of 10 minutes!

Comment what you think!
 xo, Paulina

Tuesday, February 4, 2014

Links I Love: DIY edition

Hi there!
I am introducing a new series called Links I Love (modeled after Cupcakes and Cashmere's series) but today all the links will be related to DIY websites that I love and look at for inspiration. I usually skim each if it's a rainy or slow day, but sometimes use them when I am looking to make an organizer for my desk, or how to revive a boring tee into one with a quote or design.


Hope these sites fuel your creativity, just as they do for me!
xo, Paulina


Thursday, January 23, 2014

Geometric Nails

Hi there!
Although I am not the best at doing my nails, I thought I would give nail art a shot when I saw some nail designs that were done with Scotch tape! It seemed like it would be fairly simple, but would definitely be easier with longer nails than mine (way too short, I know...ha!) Here was my experience which you can use as a tutorial for yourself!

You need:
-tape
-scissors
-two or more nail polishes
-clear nail polish
-a clear surface
-nail supplies, like polish remover and files

I used "Chinchilly" and "Who is the Boss" that are both by Essie and a clear top coat polish by L'Oreal.

  • Paint your nails which ever of your colors you want to be the base color. This color will be the one that shows through the other, so it will not be the one that covers majority of your nail.

  • While your nails dry for about 3-4 minutes, take the scissors and cut desired thicknesses and a certain amount of strips from the tape. These will essentially create the design on your nail.


  • Take the strips you want and lay them in whatever position. Here I cut two pieces of tape and laid them parallel to each other to have a striped nail! 
  • Push the tape down lightly so that the polish will not seep into unwanted areas.
  • Paint two coat of another polish over the tape like this:


  • When it is half way dried, (still a little damp,) peel the strips off and... viola! You now have  simple but oh so cool nail designs! 


  • Wipe on some top coat polish to close the seams and wait to dry completely! I only did designs on three fingers, keeping the art spontaneous and casual, but you can definitely do it on all!


The great thing about this Scotch tape idea is that you can do this with any shapes, whether zigzags, half moons, waves, starbursts, and much more! 

P.S. The next time I do this, I plan to use arts and crafts scissors (like these) that cut patterns like waves and zigzags to make the process of making shapes easier! 

xo, Paulina 


Tuesday, January 14, 2014

Fishtail Braid Tutorial!

Hi there!
Here is a quick, easy, and simple tutorial on fishtail braids!

Check my youtube channel out!


p.s. still trying to figure out how to make a thumbnail haha!

xo, paulina

Sunday, May 19, 2013

Emergency Kit for Parties

Hi there!
This weekend I attended a Sweet 16 that I thought I was prepared for....but wasn't! I love to make lists and visualize my outfits so that I feel like everything will go smoothly. Unfortunately at this party I learned my lesson:

1. My wedges were BRAND new and I had never walked in them before. This is soooo unlike me but I just had no time! Once I got to the party I was fine and everything, but then after dancing my feet started to kill! I almost never take my shoes off but I had reached my breaking point and learned:
Always always always bring a pair of comfortable roll up or lightweight flats! You will thank yourself when you start to feel you're getting blisters ugh!

2. When I tried my dress on at the store I loved it and it fit perfectly...but once i started dancing and wore my strapless undergarment, (which I was not wearing at the store) I realized I had to pull it up every two seconds. I wish i had brought some pins or double sided tape so I could have taken my sweater. At least I learned:
Try on your outfit EXACTLY how you will wear it. You don't need to then predict how you will feel at the party and of course you want to feel comfortable!

3. Dancing calls for sweat. EW. As soon as the whole floor was covered with people, I felt a workout and perspiration coming with it! I learned:
Bring a small toilette and extra deodorant that way you can wash your forehead and reapply deodorant so you can feel nice, fresh, and self confident!

Well, here is my ideal party emergency kit:
-safety pins
-double sided tape
-water bottle
-little snack
-toilette
-deodorant
-hair ties
-extra pair of shoes
-cardigan

Hope this helps!
xo, Paulina

Monday, May 6, 2013

Nail Summer Trends

Hey there!

So....2013 summer nail trends?
I've paid a lot of attention to my nails for the past few months and have had them painted and tamed this whole time! (Secret: others judge if you have chipped, messy nails..I've learned;) ) The summer is coming up and that means bright, fun colors! Here are some awesome colors that have been seen on the runway and will defintely make it on the street...if they havent already!
xo, Paulina

Nail Summer Trends